For me, a nut free granola bars recipe is a safe, delicious alternative to the typical bars filled with peanuts, almonds, or nut butters. I started making them when my niece needed school-safe snacks, and I realized how many families were facing the same challenge.
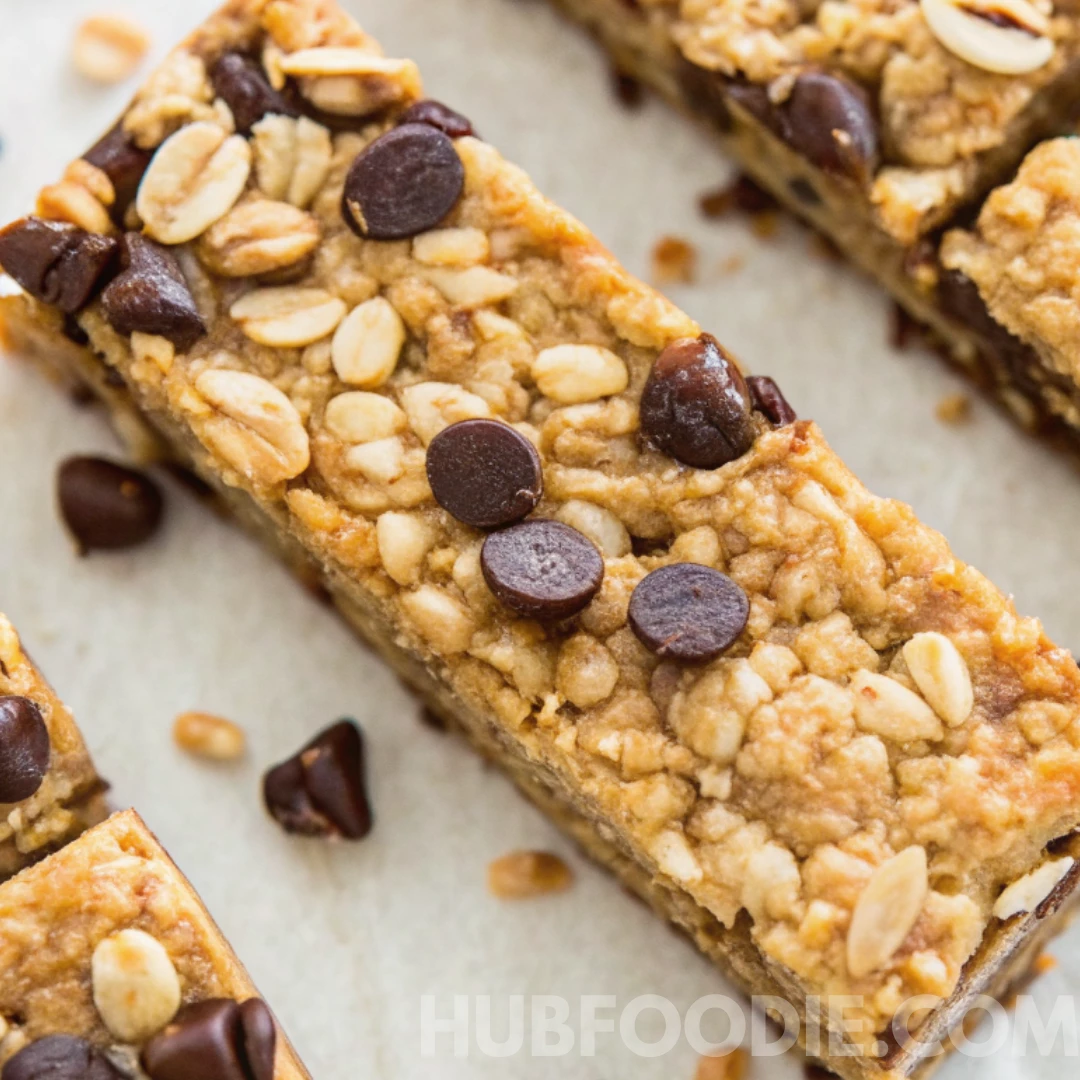
Instead of nuts, I use allergy-friendly ingredients like rolled oats, coconut, maple syrup, and dried fruits. It’s simple, wholesome, and just as satisfying. There are even versions I make without seeds, perfect for strict school rules. When we’re craving something sweeter, I make my nut free chocolate chip granola bar recipe a guaranteed hit with kids.
Here’s why I love these bars:
| Feature | Benefit |
|---|---|
| Nut Free | 100% school-lunch safe |
| Gluten Free Option | Use certified GF oats |
| Customizable | Chocolate chips, berries, and coconut |
| Naturally Sweetened | Maple syrup, banana, applesauce |
| No Bake Optional | Quick to make, no oven required |
Whether I want a chewy bite or a nut free crunchy granola bar recipe, this base works every time. And when I want more variety, I’ll make my Fruit Granola Bars or these Homemade Protein Granola Bars for a more filling snack.
So if you’re looking for a healthy nut free granola bars recipe that’s easy, safe, and actually tastes good, this one’s for you.
Table of Contents
Why Choose a Nut Free Granola Bars Recipe?
A Simple Need Turned Into a Go-To Recipe
I created my first nut free granola bars recipe when I couldn’t find a safe, homemade snack for my niece, who has a peanut allergy. Every store-bought option came with a “may contain nuts” label, which made it risky to rely on.
I needed a snack I could feel good about. It had to be simple, wholesome, and made with real ingredients I could recognize. After some testing in my kitchen, I realized how many other families were searching for the same thing. A healthy nut free granola bars recipe that is easy to prepare, safe for school lunches, and still full of flavor.
Why Nut-Free Recipes Matter
Nut allergies are increasingly common, especially among children. Many schools and workplaces now require nut free snacks. That makes it more important than ever to have trusted recipes at home.
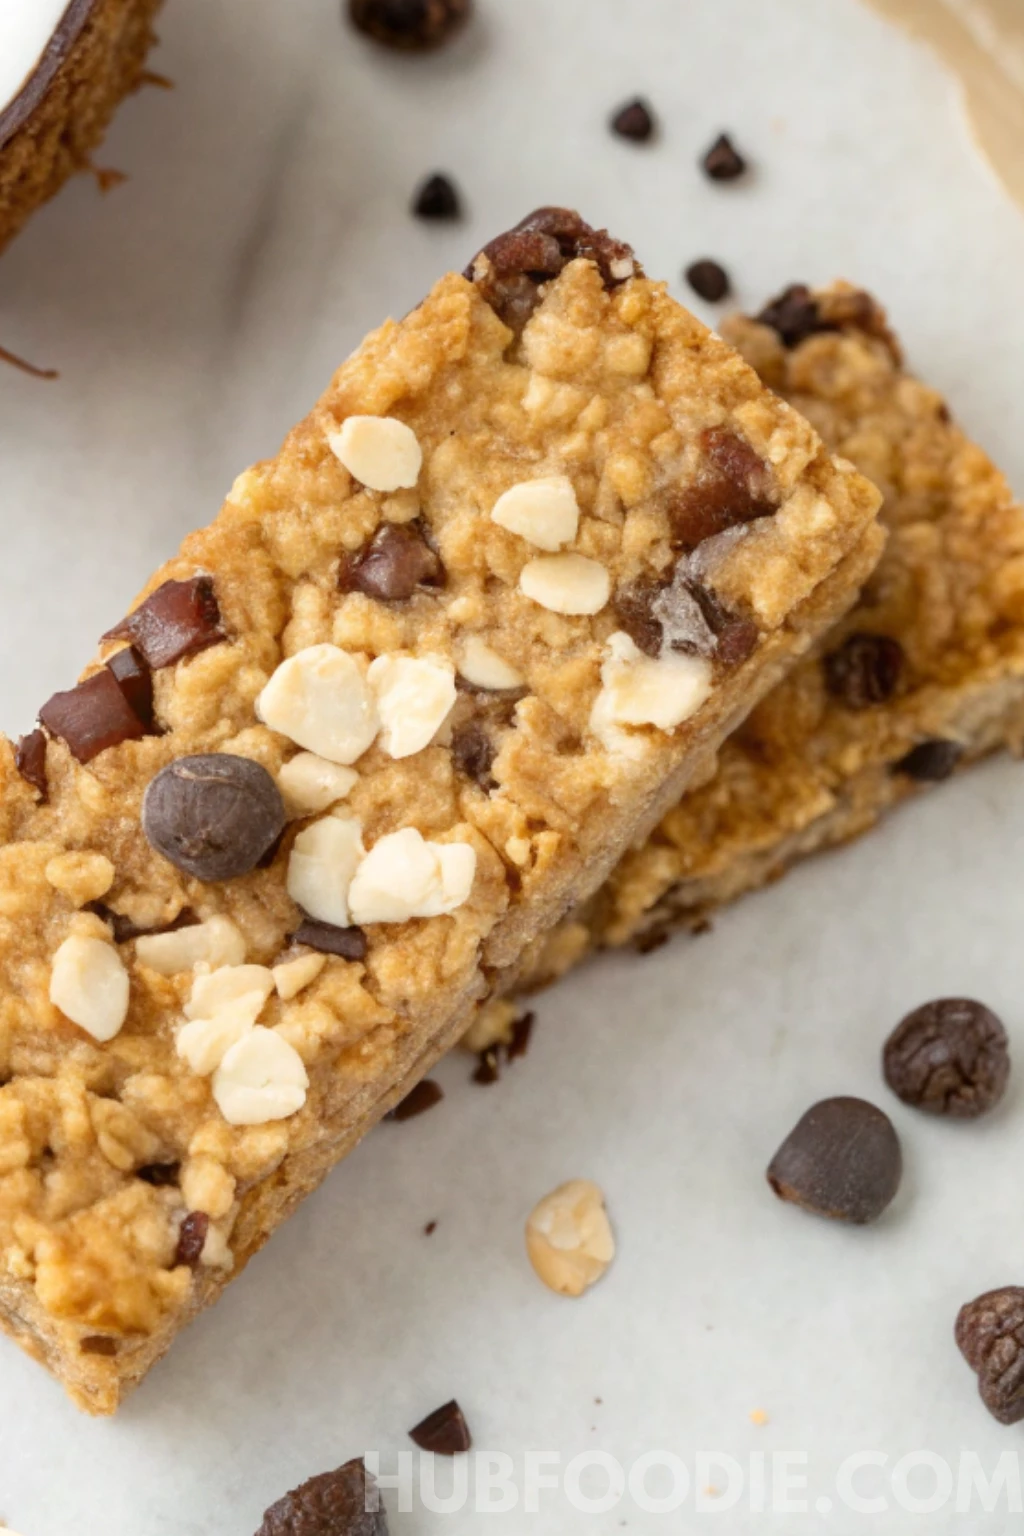
I use ingredients like rolled oats, maple syrup, dried fruit, and coconut. These are naturally safe and easy to work with. Whether I want a chewy texture or something more crisp, this base recipe can adapt. It also works perfectly for those who need a nut free crunchy granola bar recipe or a nut and seed free granola bar recipe.
If you are looking for more variety, don’t miss our Homemade Protein Granola Bars for a more filling snack. Or check out these Quick & Easy Vegan Recipes for more allergy-friendly ideas.
Key Ingredients for a Nut-Free Granola Bar
What I Use Instead of Nuts
When I started developing my nut free granola bars recipe, I needed ingredients that could offer the same texture and richness as nuts, but without any allergy risk. I quickly discovered that a few simple swaps could do the trick.
These are now my go-to ingredients for every nut free healthy granola bar recipe:
- Rolled oats: They create structure and chew.
- Coconut flakes: Add texture and subtle sweetness.
- Sunflower seeds (optional): For added crunch, if seeds are safe.
- Dried fruit: I love using raisins or chopped dates for sweetness.
- Mini chocolate chips: Perfect for a nut free chocolate chip granola bar recipe when I want a treat.
If you need a nut and seed free granola bar recipe, just skip the seeds. The oats, fruit, and natural binders hold up beautifully on their own.
Best Natural Binders That Hold It All Together
Getting the bars to stick without peanut butter or nuts can be tricky, but these ingredients always work for me:
- Maple syrup or honey: Natural and sticky, just what the bars need.
- Mashed banana: Great for soft bars with a hint of sweetness.
- Applesauce: A lighter option that keeps the bars moist.
- Coconut oil: Helps everything hold together while adding richness.
I often adjust the recipe depending on what I have in the pantry. That’s one of the things I enjoy most, it’s easy to customize without losing the balance of flavor and texture.
If you want to try a fun variation, take a look at our Fruit Granola Bars Recipe. It uses the same base ingredients but adds a fruity spin that both kids and adults love.
Step-by-Step: How I Make Nut-Free Granola Bars at Home
How I Prepare My Favorite Nut Free Granola Bars Recipe
The first time I made a nut free granola bars recipe, I expected it to be complicated. But honestly, it turned out to be one of the simplest snacks I’ve ever made. No fancy tools. No special prep. Just one bowl, a pan, and a handful of ingredients I already had in my kitchen.
I’ve made these bars so many times now that the process feels second nature. Here’s exactly how I do it.
My Go-To Ingredients
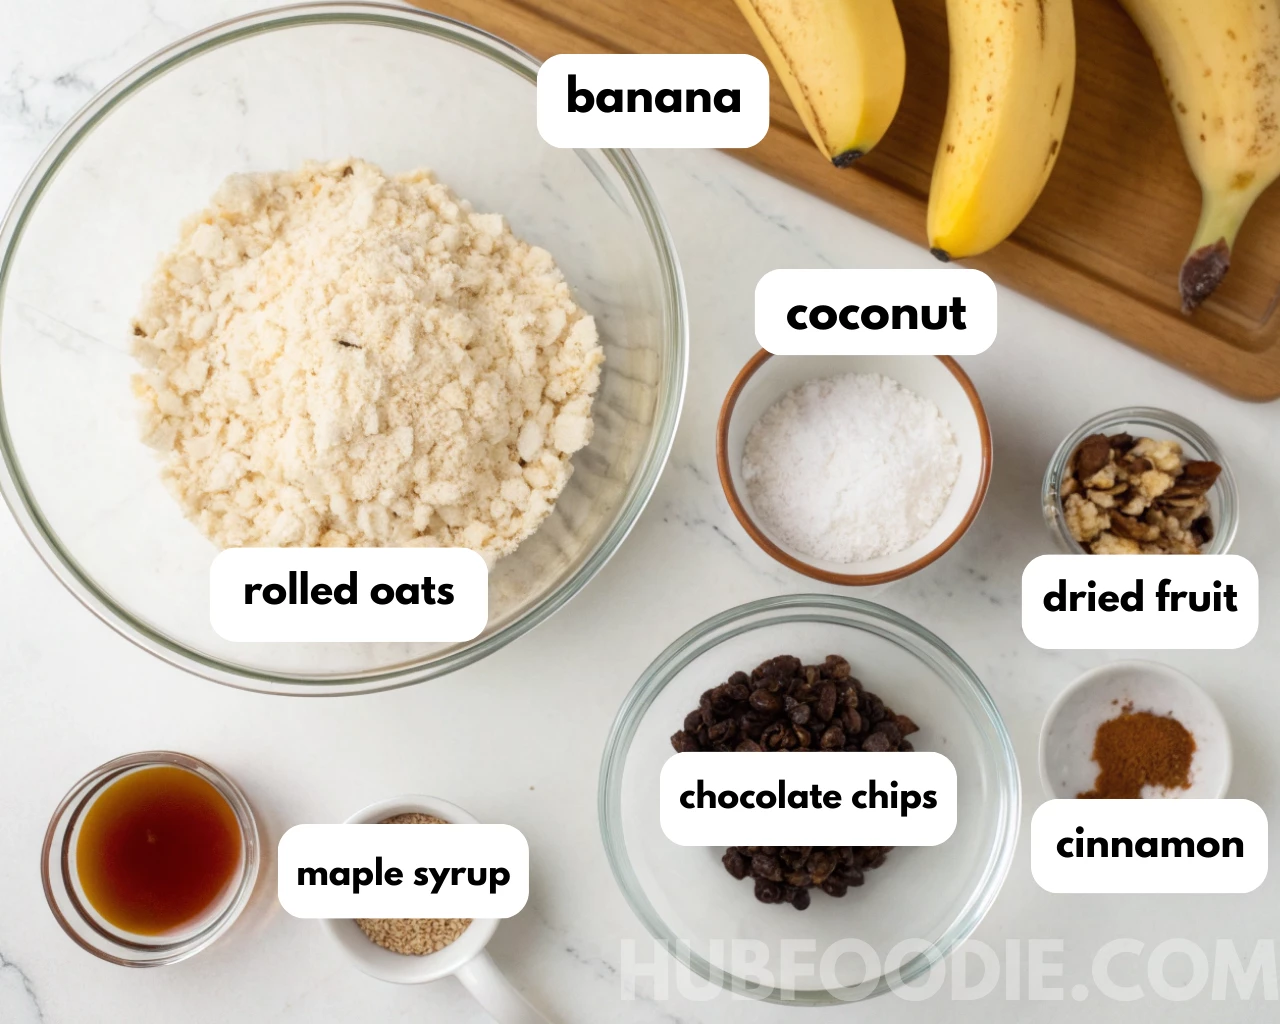
- 2 cups rolled oats (I use gluten-free oats when needed)
- 1/2 cup shredded coconut
- 1/2 cup dried fruit (usually raisins, cranberries, or chopped dates)
- 1/3 cup mini chocolate chips (especially for a kid-friendly twist)
- 1/4 cup maple syrup or honey
- 1/4 cup melted coconut oil
- 1/2 cup mashed banana or unsweetened applesauce
- A pinch of salt
- 1/2 teaspoon cinnamon (optional, but I love the warmth it adds)
This recipe makes about 12 bars, depending on how thick I slice them.
Preheat the oven to 350°F and line an 8×8-inch pan with parchment paper. This helps prevent sticking and makes cleanup easy.
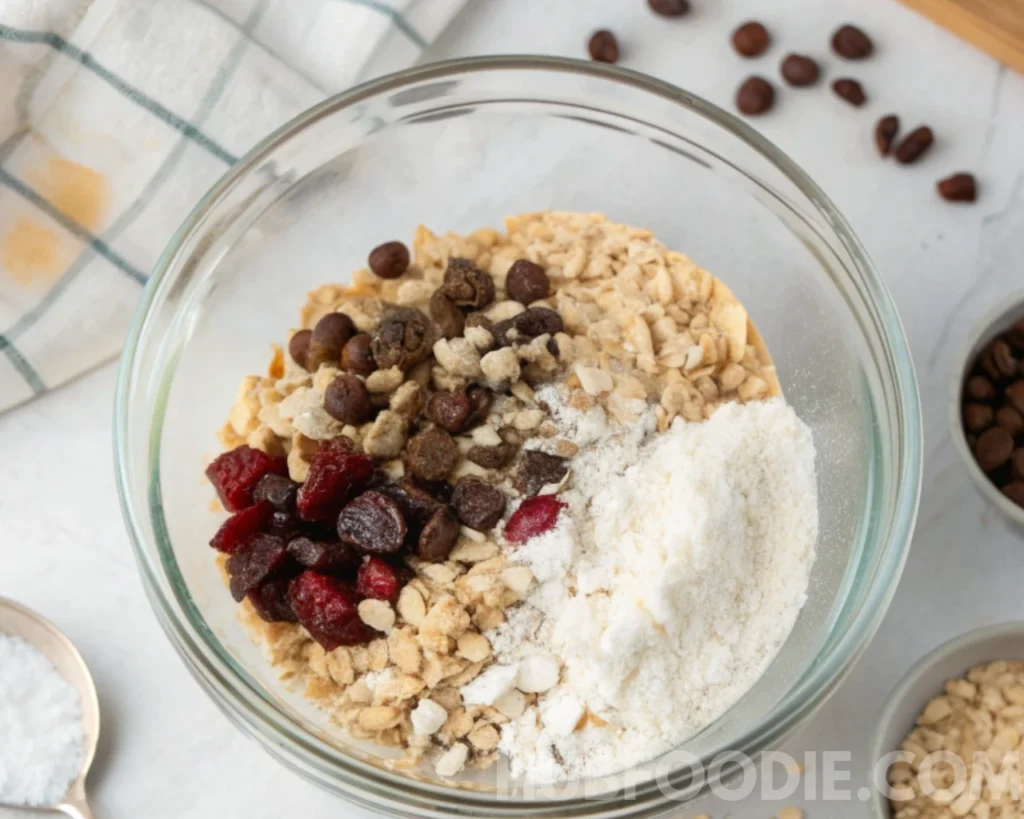
In a large bowl, combine the dry ingredients. I add rolled oats, shredded coconut, dried fruit, mini chocolate chips, a pinch of salt, and a little cinnamon if I want extra flavor.
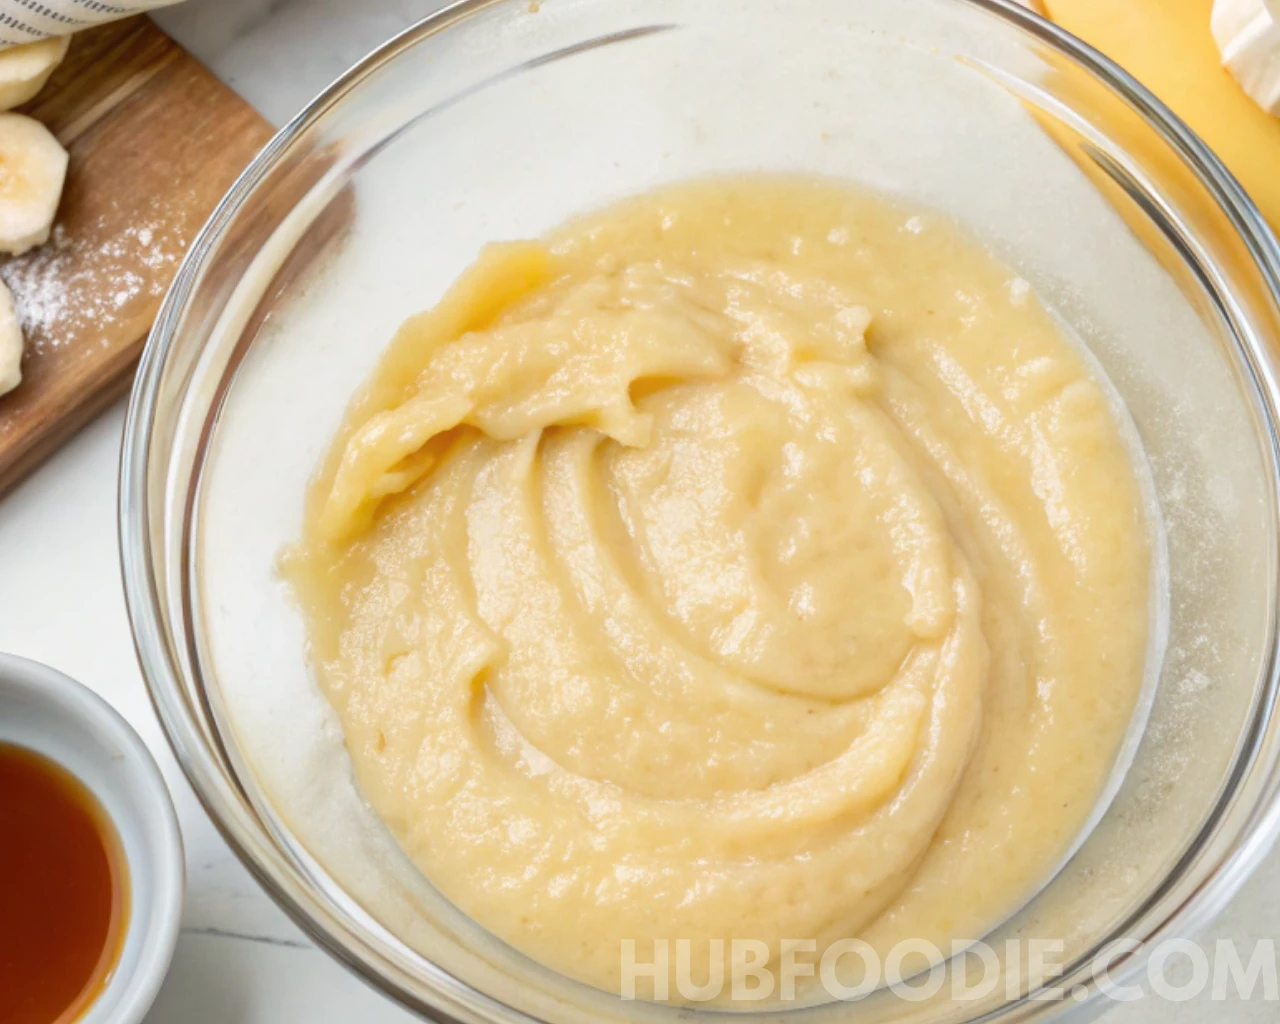
In a separate bowl, mix the wet ingredients. I whisk together the mashed banana, maple syrup, and melted coconut oil until smooth and well blended.
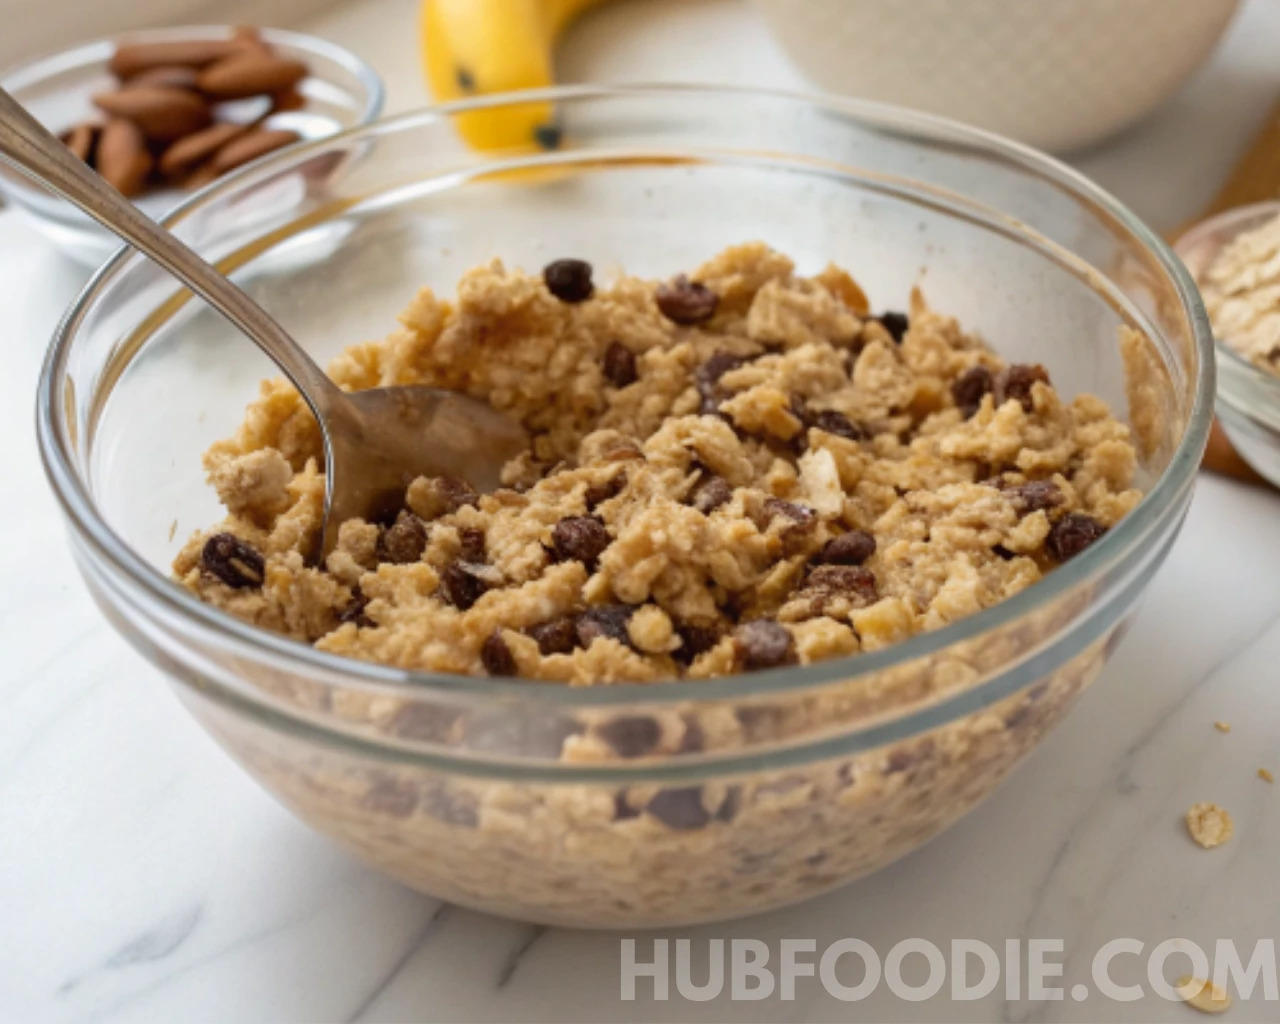
Combine the wet and dry mixtures. I pour the wet mixture into the dry ingredients and stir until everything is evenly coated. The mixture should be thick and sticky.
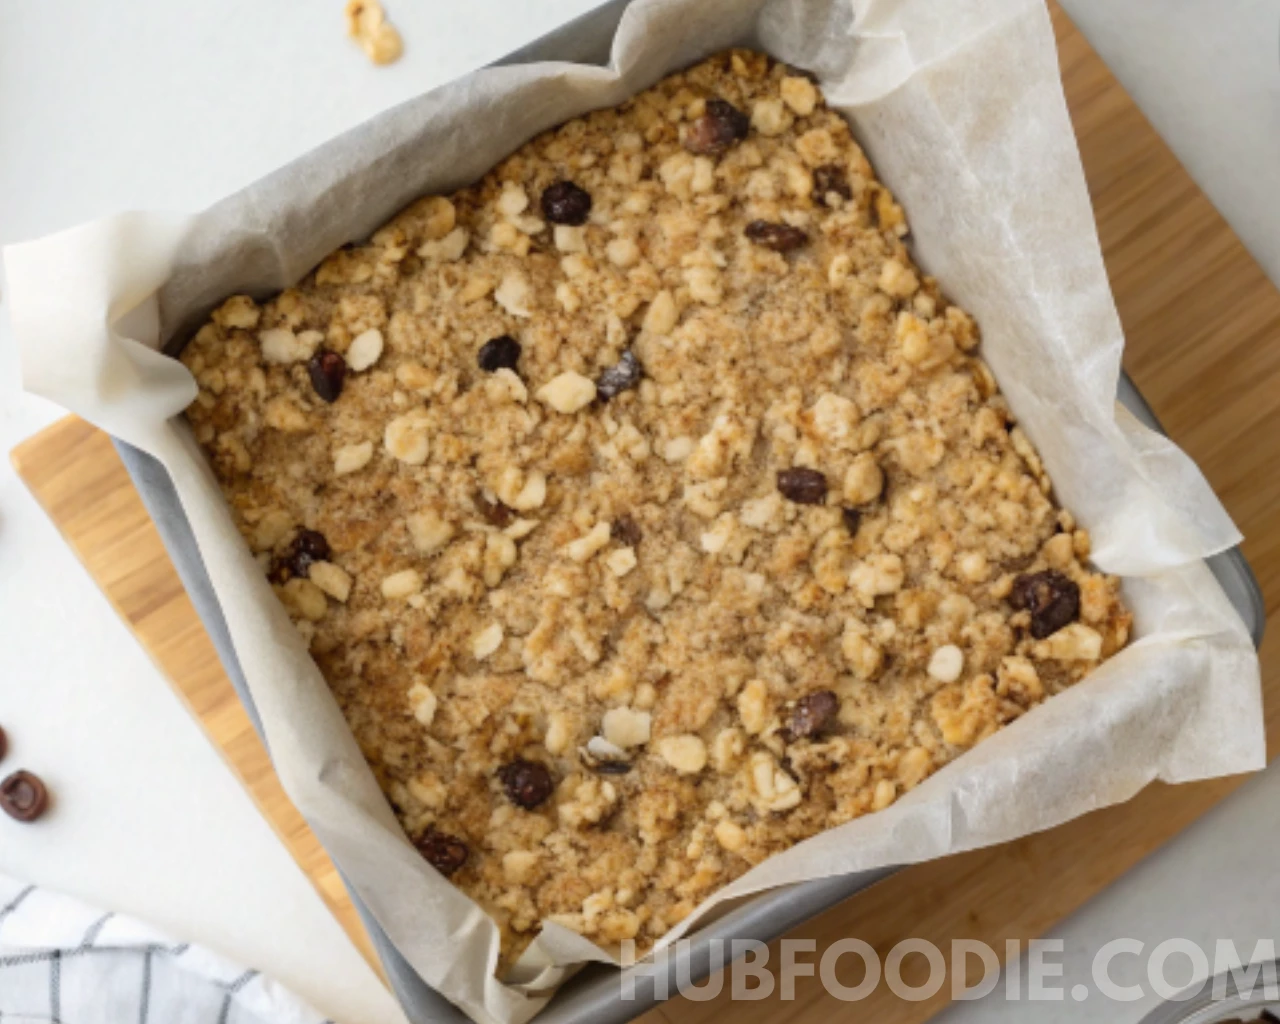
Press the mixture into the pan. Using the back of a spoon or my hands, I press the mixture down firmly to help the bars hold their shape.
Bake the bars for 20 to 25 minutes. I keep an eye on the edges. Once they turn lightly golden, I know they’re done.
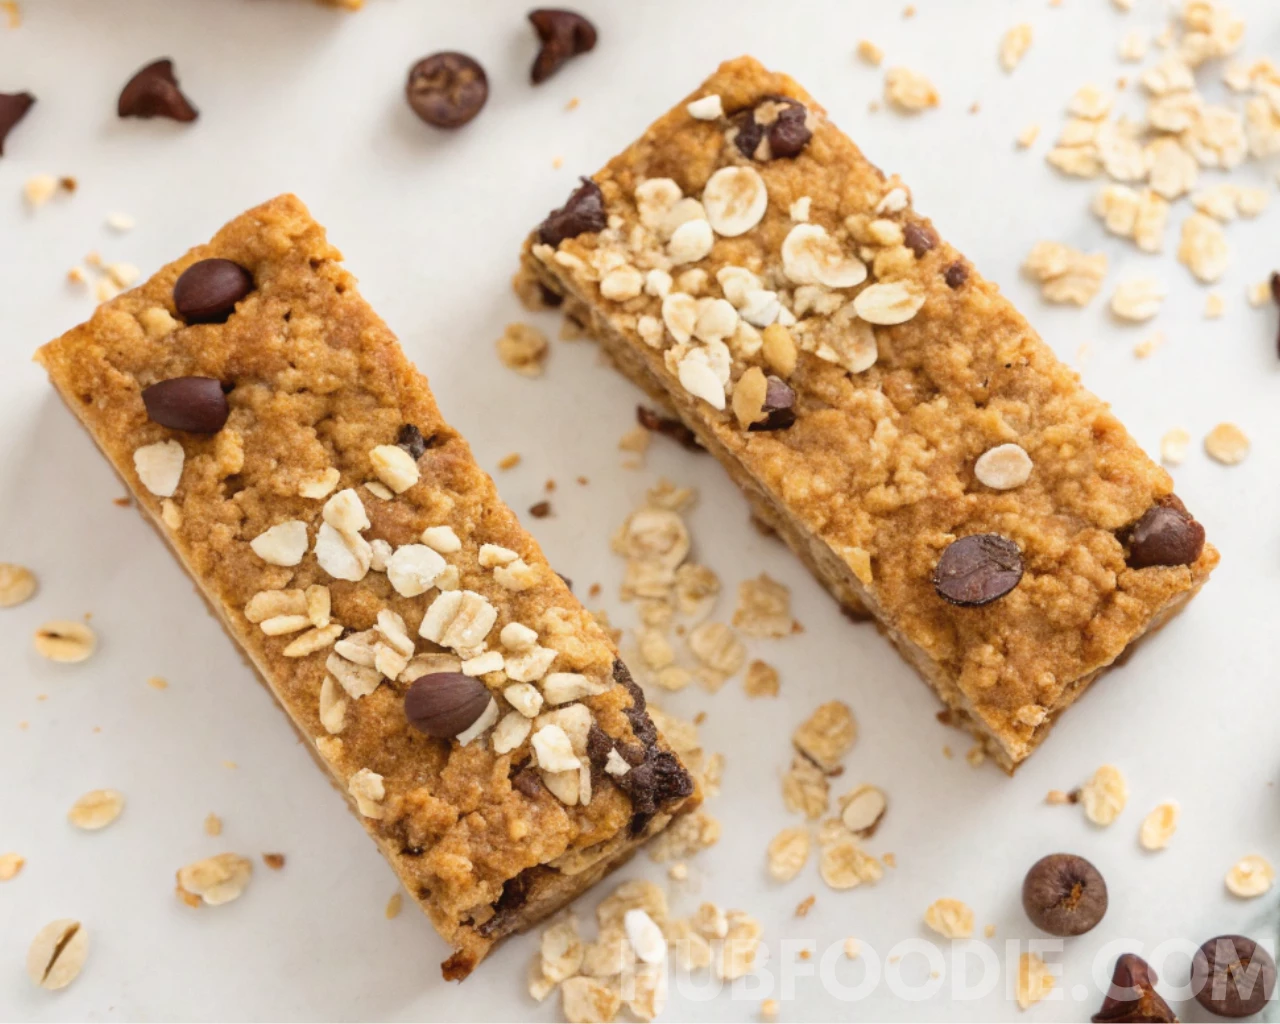
Let the bars cool completely. I wait until they’re fully cooled before lifting them out of the pan. Then I slice them into bars and store them for the week.
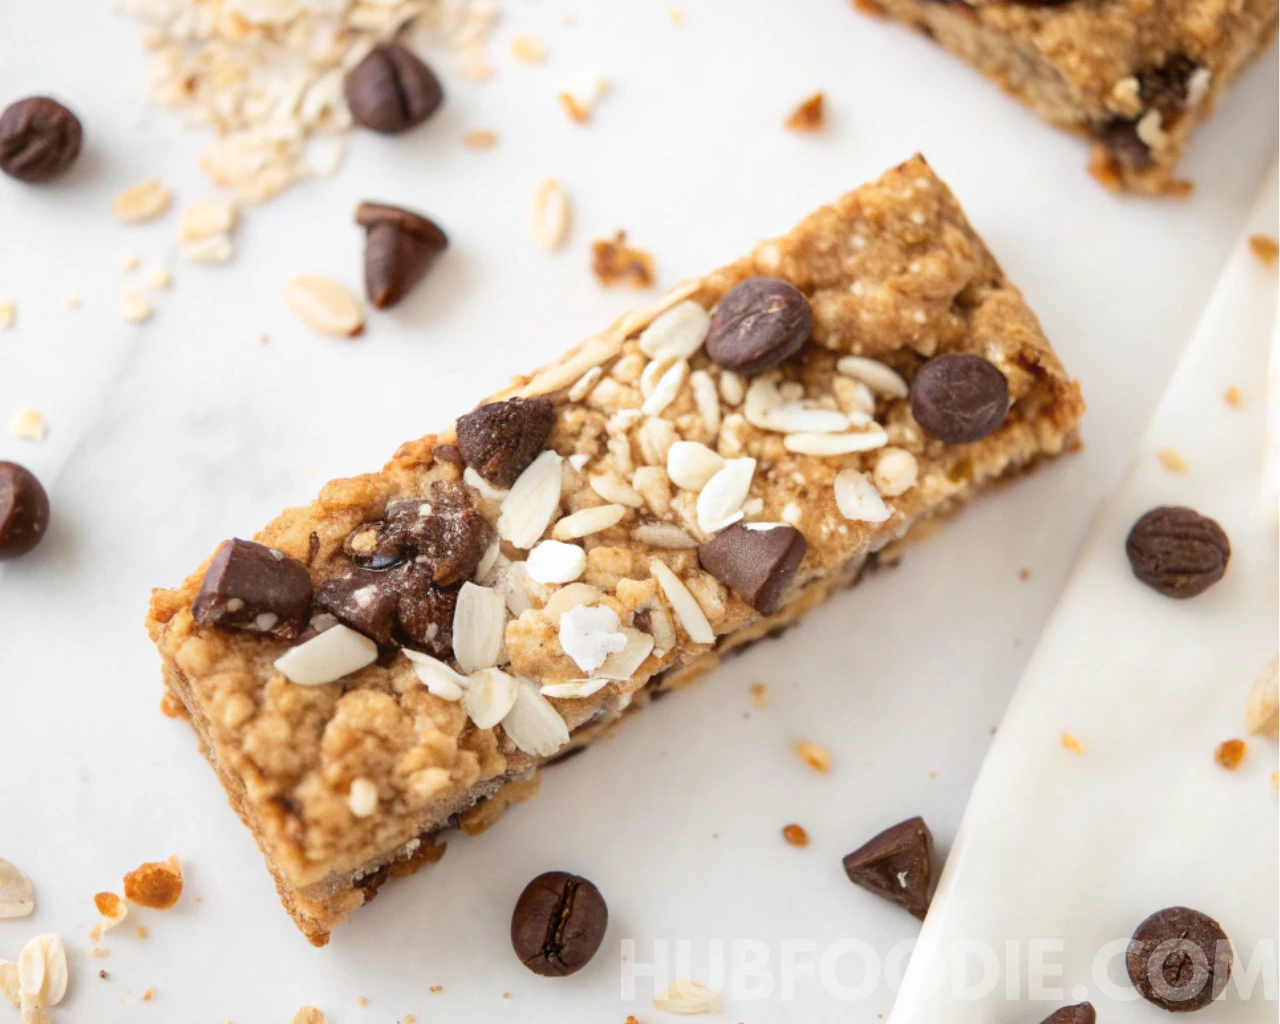
(Optional No-Bake Version): When I want to skip the oven, I follow the same steps but refrigerate the pan for 2 to 3 hours instead of baking. Once firm, I slice and store as usual.
Tips for Chewy, Crunchy, or Soft Granola Bars
How I Adjust the Texture
One of the things I enjoy most about this nut free granola bars recipe is how easy it is to tweak the texture. Whether I want something chewy, crunchy, or soft, a few small changes make all the difference.
For Chewy Bars
I use mashed banana or applesauce and bake for just 20 minutes. This keeps the bars moist and soft, perfect for lunchboxes or quick snacks.
For Crunchy Bars
I press the mixture firmly into the pan and bake for closer to 25 minutes. After cooling fully, the bars are firm with a satisfying crunch.
For Soft Bars
If I’m skipping the oven, I refrigerate the bars instead. With extra banana or applesauce, they stay tender and easy to eat, great for toddlers or softer snacking.
Each version starts with the same base. That’s why I love how flexible this nut free healthy granola bar recipe is.
Kid-Friendly and School-Safe Granola Bar Variations
How I Make These Granola Bars Perfect for Kids
When I started sharing this nut free granola bars recipe with friends, the first question I got was, “Will my kids actually eat it?” Once they tried it, the answer was always yes especially when I customized it with fun, kid-friendly flavors.
I’ve made this healthy nut free granola bars recipe for birthday parties, lunchboxes, and even as after-school snacks. It’s one of the easiest ways I know to give kids something sweet that’s still made with real ingredients.
Sweet Add-Ins Without Extra Sugar
Kids love variety, so I mix things up while keeping it healthy. Some of my favorite additions include:
- Mini chocolate chips for a nut free chocolate chip granola bar recipe
- Chopped dried strawberries or blueberries
- A drizzle of melted dark chocolate after baking
These make the bars feel like a treat, without needing to add refined sugar.
Fun Shapes and Easy Portions
I sometimes use cookie cutters to make the bars into hearts or stars. It makes this nut free granola bars recipe more playful, especially for toddlers or picky eaters. I also wrap each bar individually, so they’re mess-free and easy to grab.
Always 100% School-Safe
Because this is a nut free granola bars recipe healthy enough for everyday use, I never worry about school policies. I make sure every ingredient is clearly labeled nut-free, and when needed, I skip seeds too, turning it into a fully nut and seed free granola bar recipe.
Whether I’m prepping a week of school snacks or packing a lunch on the go, this recipe has become my go-to. It’s safe, customizable, and most importantly kid-approved.
If you’re looking for another fun option, try our Fruit Granola Bars Recipe. It uses the same safe ingredients with a fruity twist that kids love.
Common Mistakes to Avoid in Nut-Free Granola Recipes
What I Learned While Testing This Nut Free Granola Bars Recipe
Like most recipes, my first attempt at a nut free granola bars recipe didn’t go as planned. The bars were either falling apart, too wet, or lacked the right texture. But through trial (and quite a few errors), I figured out how to fix the most common issues.
Here are the mistakes I made early on and how I avoid them now:
1. Not Pressing the Mixture Firmly
This was one of my biggest issues at the start. If the mixture isn’t packed down tightly in the pan, the bars won’t hold together after baking or chilling. Now, I press the mixture firmly using the back of a spoon or my hands, placing a sheet of parchment paper on top to keep things neat and even.
2. Using the Wrong Amount of Binder
Finding the right balance between dry and wet ingredients is key. If I use too much banana or syrup, the bars stay sticky and won’t set. If I use too little, they crumble. I’ve learned to aim for a thick, sticky consistency that holds together before I even bake or chill the bars.
3. Overbaking the Bars
At first, I thought baking longer would help the bars firm up. It didn’t it just dried them out. Now, I bake only until the edges turn lightly golden, then let the bars finish setting as they cool. That keeps the texture soft and chewy.
4. Not Letting Them Cool Before Slicing
This one’s simple but important. If I try to cut the bars too soon, they fall apart. I always let them cool completely, whether baked or no-bake, before slicing and storing them.
5. Using Add-Ins That Don’t Mix Well
I’ve noticed that large chunks of dried fruit or bulky seeds can keep the bars from holding together. I now make sure any mix-ins are chopped small and evenly distributed to keep the bars intact and easy to slice.
Avoiding these mistakes helped me turn this into a reliable nut free, healthy granola bar recipe I can count on every week. Once I got these little details right, the bars started turning out just the way I wanted every single time.
Storing, Freezing, and Meal Prepping Nut-Free Bars
How I Keep My Nut Free Granola Bars Fresh All Week
Once I perfected this nut free granola bars recipe, the next step was figuring out how to keep the bars fresh, especially when making them ahead for the week. Whether I’m prepping school snacks, a post-workout bite, or just trying to stay ahead during busy weeks, these storage methods work every time.
How I Store Them for Daily Snacking
After the bars have cooled completely, I slice them and wrap each one individually in parchment or wax paper. Then I place them in an airtight container. They stay fresh at room temperature for up to 4 days or in the fridge for up to a week.
I usually store mine in the fridge. It keeps them firmer and helps the flavors hold up, especially if I’ve added banana or applesauce.
How I Freeze Them for Longer Shelf Life
When I want to stock up, I freeze a full batch. I lay the sliced bars flat on a baking sheet to freeze individually, then transfer them to a freezer-safe bag or container. They last up to 3 months this way.
To thaw, I either let them sit at room temperature for 15–20 minutes or pop one in the microwave for 10 seconds. They’re just as good as fresh.
Meal Prepping With This Nut Free Granola Bars Recipe
This recipe fits perfectly into my weekend prep routine. I usually make a double batch half for the fridge, half for the freezer. That way, I’ve always got snacks ready, whether it’s for school lunches, travel, or something to grab between meals.
And because it’s a nut free healthy granola bar recipe, I know it’s safe for everyone in the house.
Best Toppings, Mix-ins, and Flavor Variations
How I Keep This Nut Free Granola Bars Recipe Interesting
Even though I use the same base for my nut free granola bars recipe, I like switching up the flavors to keep it fresh. It’s a great way to use what I already have and avoid snack-time boredom.
My Favorite Add-Ins
- Mini chocolate chips for a kid-approved version
- Dried fruits like cranberries, raisins, or chopped apricots
- Coconut flakes for a light, tropical twist
- Cinnamon or pumpkin spice for cozy seasonal flavor
Seasonal Flavor Ideas
- Spring: Dried strawberries with lemon zest
- Fall: Pumpkin spice and raisins
- Winter: Cranberries with a touch of orange
These simple changes help me turn one nut free healthy granola bar recipe into something new every week.
Love what you see? Follow me on Facebook and Pinterest for more easy, delicious recipes and daily inspiration!
Frequently Asked Questions
1. Are granola bars OK for nut allergies?
Yes, if made with safe ingredients. That’s exactly why I created this nut free granola bars recipe to give families a reliable, allergy-friendly option without peanuts, tree nuts, or cross-contaminated ingredients.
2. What can I use instead of nuts in granola bars?
I like using oats, coconut, dried fruits, and chocolate chips. For crunch, sunflower or pumpkin seeds work well. If you need a nut and seed free granola bar recipe, just leave the seeds out and focus on the texture from oats and fruit.
3. Are oats considered nut-free?
Yes, oats are naturally nut-free. But it’s important to buy certified nut-free oats processed in allergy-safe facilities to avoid contamination.
4. Are seed bars a good alternative to nut bars?
Definitely. I sometimes make seed-based variations when a little crunch is needed. But for school settings or stricter allergies, I stick to a full nut and seed free granola bar recipe just to be safe.
5. What are the best binders for granola bars without nuts?
I use mashed banana, applesauce, maple syrup, or honey. Coconut oil also helps the bars hold their shape. The key is to find a thick, sticky mix before baking or chilling.
6. Can I pack nut-free granola bars for school lunches?
Absolutely. That’s one of the main reasons I developed this nut free healthy granola bar recipe. Just make sure every ingredient is certified nut-free and safe for school policies.
Conclusion: A Nut Free Granola Bars Recipe
This nut free granola bars recipe started as a simple solution for my niece’s lunchbox, and now it’s a weekly staple in my kitchen. It’s easy, reliable, and safe for anyone avoiding nuts.
Whether you like your bars chewy, crunchy, fruity, or chocolatey, this recipe can be adjusted to fit your needs without much effort.
If you’re craving more ideas, don’t miss our Homemade Protein Granola Bars or explore our Quick & Easy Vegan Recipes for more allergy-friendly snacks.
Print
Nut Free Granola Bars Recipe
- Prep Time: 10 minutes
- Cook Time: 25 minutes
- Total Time: 35 minutes
- Yield: 12 bars
- Category: Snack
- Method: Baked (or no-bake option)
- Cuisine: American
- Diet: Vegan
Description
This nut free granola bars recipe is a chewy, kid-friendly, allergy-safe snack made with oats, banana, coconut, and maple syrup. Perfect for school lunches, meal prep, and healthy snacking all without peanuts, tree nuts, or seeds.
Ingredients
- cups rolled oats (gluten-free if needed)
- 1/2 cup shredded coconut
- 1/2 cup dried fruit (raisins, cranberries, or chopped apricots)
- 1/3 cup mini chocolate chips (optional)
- 1/4 cup maple syrup or honey
- 1/4 cup melted coconut oil
- 1/2 cup mashed banana or unsweetened applesauce
- 1/2 teaspoon cinnamon (optional)
- Pinch of salt
Instructions
- Preheat the oven to 350°F (175°C). Line an 8×8-inch baking pan with parchment paper.
- In a large bowl, combine oats, coconut, dried fruit, chocolate chips, salt, and cinnamon.
- In a separate bowl, whisk together mashed banana, maple syrup, and melted coconut oil.
- Pour wet ingredients into dry and stir until fully combined. The mixture should be thick and sticky.
- Press mixture firmly into the prepared pan using a spoon or your hands with parchment paper.
- Bake for 20 to 25 minutes until edges are lightly golden.
- Let cool completely before slicing into bars.
- Store in an airtight container at room temperature for 3–4 days or refrigerate for up to a week.
- For a no-bake version, chill the pressed mixture in the fridge for 2 to 3 hours instead of baking.
Notes
Use certified nut-free oats and chocolate chips to ensure the recipe is allergy-safe.
For a seed-free version, skip any optional seeds like sunflower or pumpkin.
This recipe is easy to double for meal prep or freezing.
You can shape the bars using cookie cutters for fun lunchbox ideas.

