Homemade gluten free granola bars are easy-to-make snack bars made with gluten-free oats, nut butter, honey or maple syrup, and your favorite mix-ins like dried fruit or seeds. They have a soft, chewy texture with just the right touch of natural sweetness, ideal for anyone following a gluten-free diet.
I first tried this recipe after stumbling across a basic version online. I wanted something quick and clean, no dates, no protein powders, no fuss. I made a batch with what I had in my pantry, and honestly? I was shocked at how good they turned out. Better than any store-bought bar I’d had, and so much fresher.
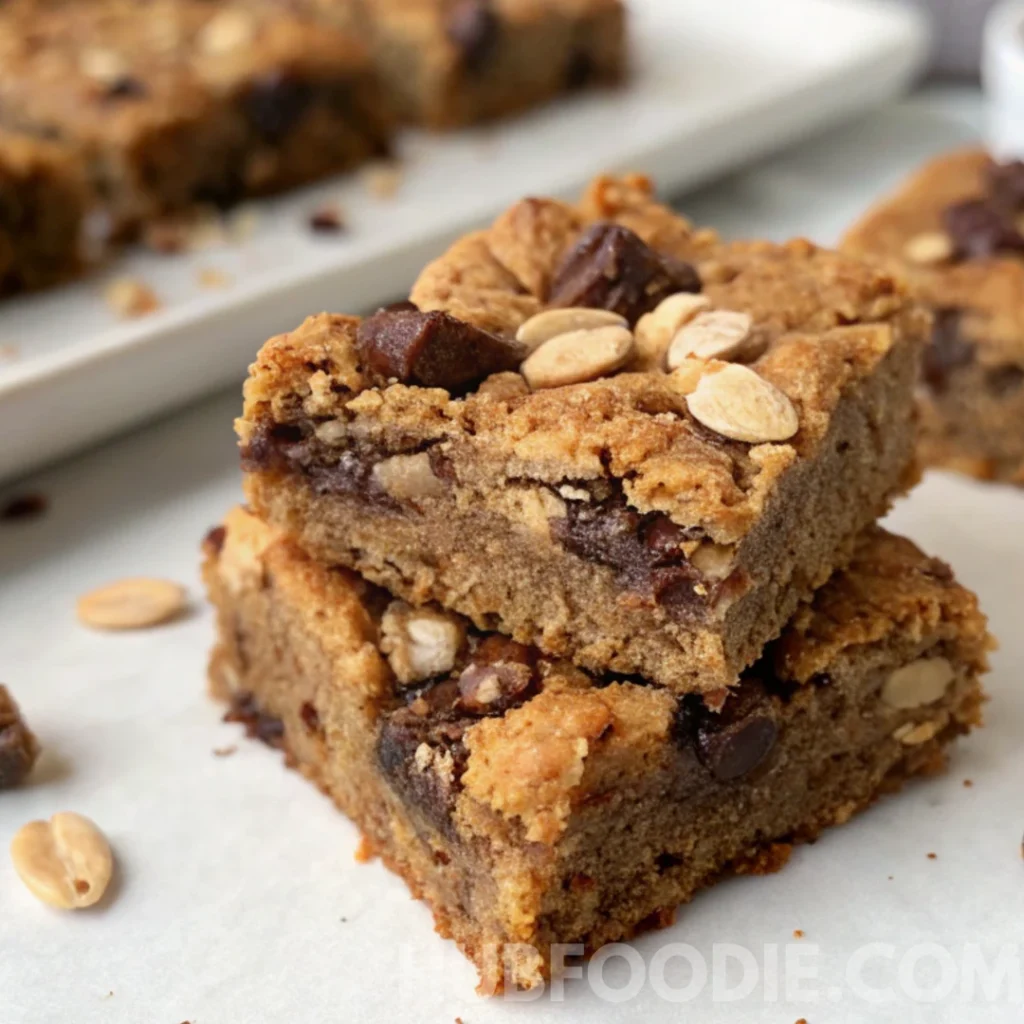
After a few tweaks, I ended up with the perfect homemade gluten free granola bars recipe, one I now make every week and share with friends and readers alike.
Check out our homemade protein granola bars if you want a post-workout boost, too.
Table of Contents
Why Homemade Gluten Free Granola Bars Are a Better Choice
Store-Bought Isn’t Always Better
Many gluten-free granola bars at the store are full of sugar, preservatives, and ingredients you can’t pronounce. Some still crumble apart or taste overly processed. Even worse, they’re often overpriced.
That’s what pushed me to make my own.
The Perks of Making Them at Home
When you make gluten free granola bars homemade, you get:
- Full control over ingredients
- Allergy-friendly options
- Better taste and texture
- Lower cost per bar
- Endless ways to customize
Once I learned how to make homemade gluten free granola bars, I never went back to store-bought.
Don’t miss our fruit granola bars recipe for another simple snack idea.
Ingredients That Make Granola Bars Naturally Gluten-Free
Choosing the Right Base: Certified Gluten-Free Oats
The heart of most homemade granola bars gluten free starts with oats, but not just any kind. Regular oats can be cross-contaminated with wheat, so it’s important to choose certified gluten-free oats. They give that chewy texture while keeping the recipe safe and satisfying.
If you can’t use oats, alternatives like puffed rice, quinoa flakes, or buckwheat groats also work.
Binders That Stick Without Gluten
A common issue with gluten-free baking is that ingredients often fail to hold together. For gluten free homemade granola bars, natural binders are key. My go-to options include:
- Nut butters (almond, peanut, or sunflower)
- Honey or maple syrup
- Ground flax or chia seeds
These not only help the bars stay together but also add moisture, protein, and fiber.
Simple Mix-ins for Flavor and Texture
Once you have your base and binder, the rest is up to you. Here are some gluten-free mix-ins I love:
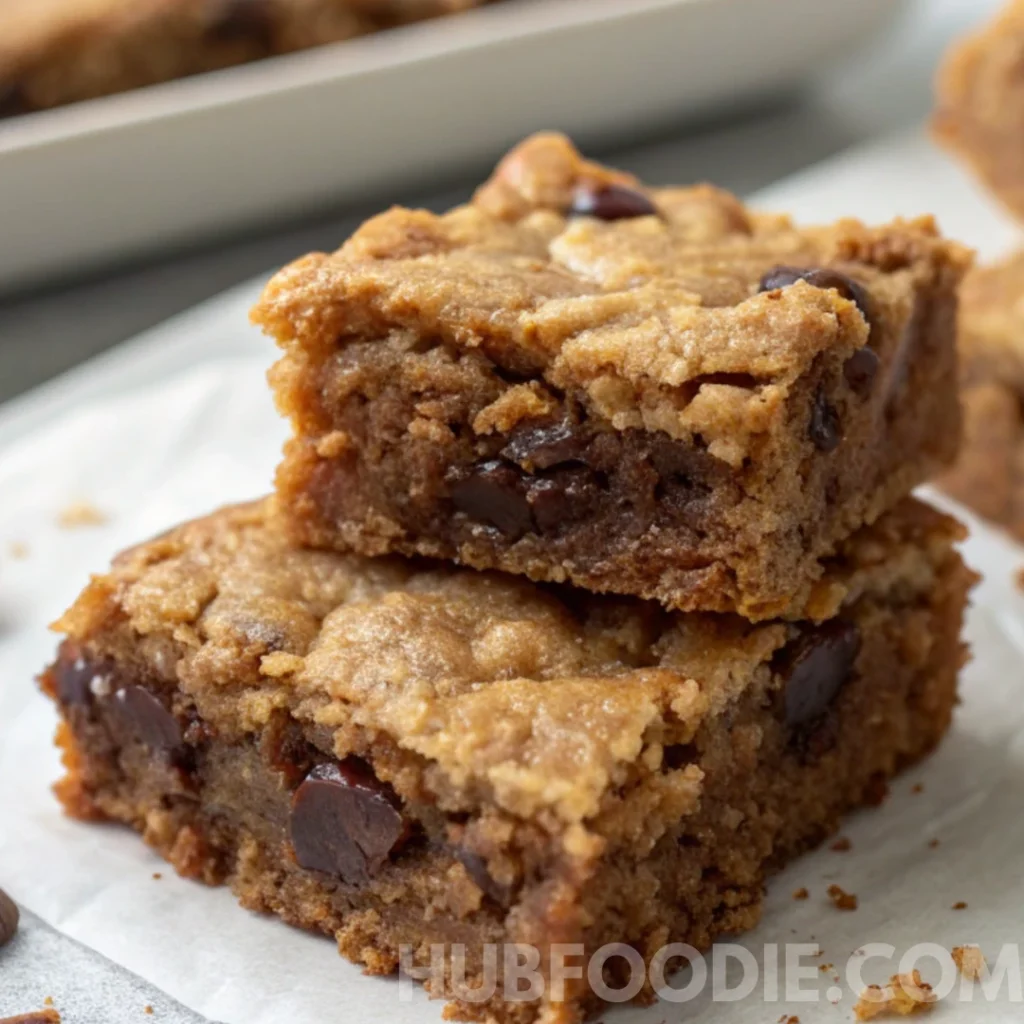
- Dried fruits (cranberries, raisins, dates)
- Seeds (pumpkin, sunflower, chia)
- Dark chocolate chips
- Unsweetened shredded coconut
Keep it simple, or load them up. This homemade gluten free granola bars recipe works either way.
Looking for inspiration? Try our green cheesecake recipe for a fun, allergy-friendly dessert.
Step-by-Step Recipe for Homemade Gluten Free Granola Bars
What You’ll Need (Simple Ingredients, Big Flavor)
If you’re wondering how to make homemade gluten free granola bars that are chewy, naturally sweet, and easy to customize, this is the recipe I rely on every single week. It’s quick, clean, and flexible enough to match your mood or pantry.
| Ingredient | Amount |
|---|---|
| Certified gluten-free oats | 2 cups |
| Nut butter (any variety) | 1/2 cup |
| Maple syrup or honey | 1/3 cup |
| Ground flaxseed (optional) | 1 tbsp |
| Vanilla extract | 1 tsp |
| Sea salt | 1/4 tsp |
| Add-ins (fruit, seeds, nuts) | 1 cup |
Tip: For a nut-free version, use sunflower seed butter and skip any nut-based add-ins.
How to Make Gluten Free Granola Bars Homemade Style
Step 1 – Heat the sticky stuff
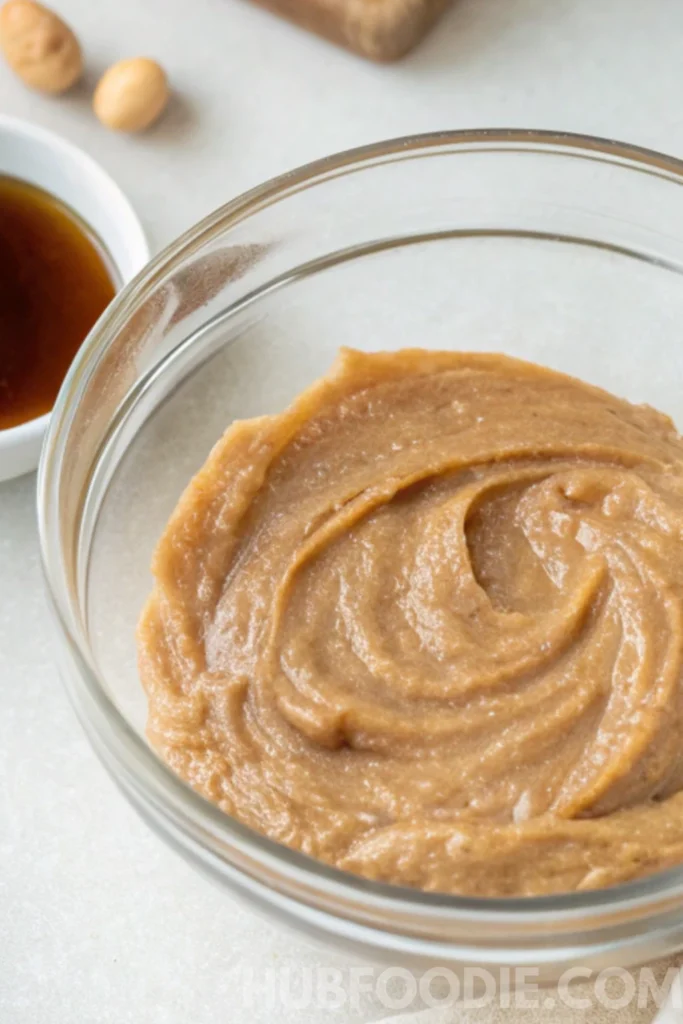
In a small pot, stir together your nut butter and maple syrup (or honey) over low heat. Warm just enough to blend it smoothly. Take off the heat, then stir in your vanilla.
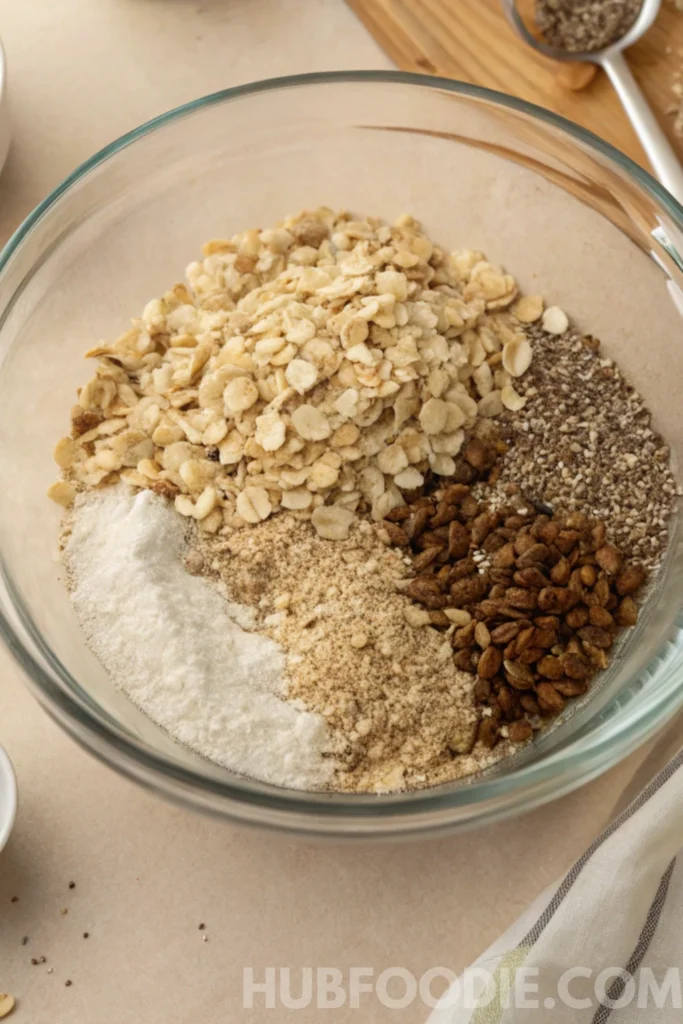
Step 2 – Combine the dry mix.
In a large mixing bowl, toss together your oats, flaxseed, salt, and any add-ins you’re using, like chopped nuts, dried cranberries, or pumpkin seeds.
Step 3 – Bring it all together.
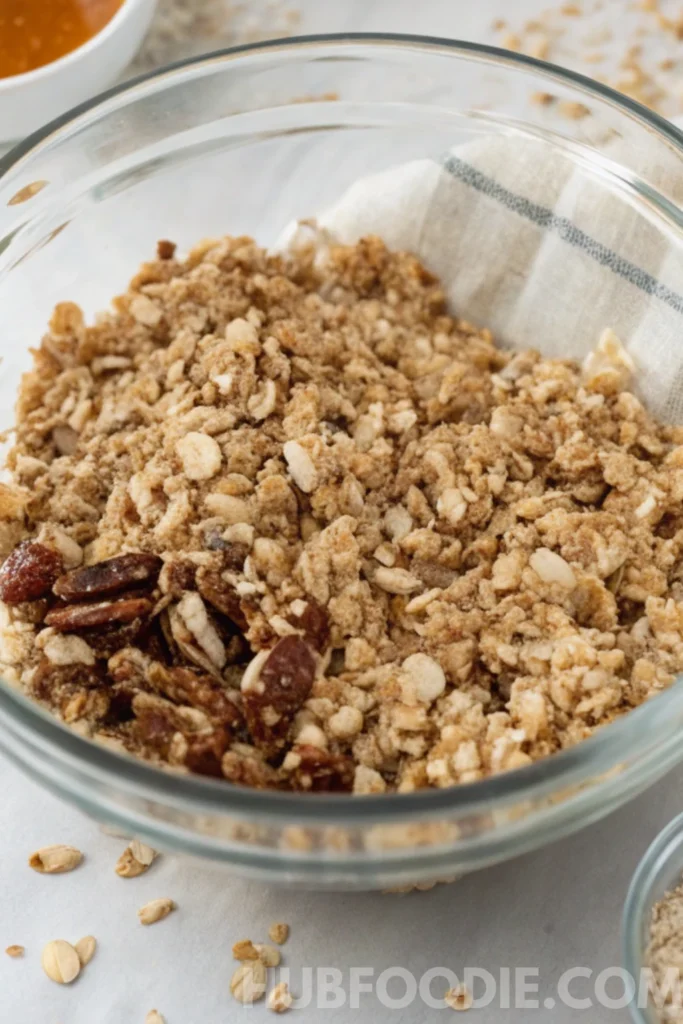
Pour the warm liquid mixture over the dry ingredients and stir until everything is fully coated. It should be sticky, not dry or crumbly.
Step 4 – Pack and press
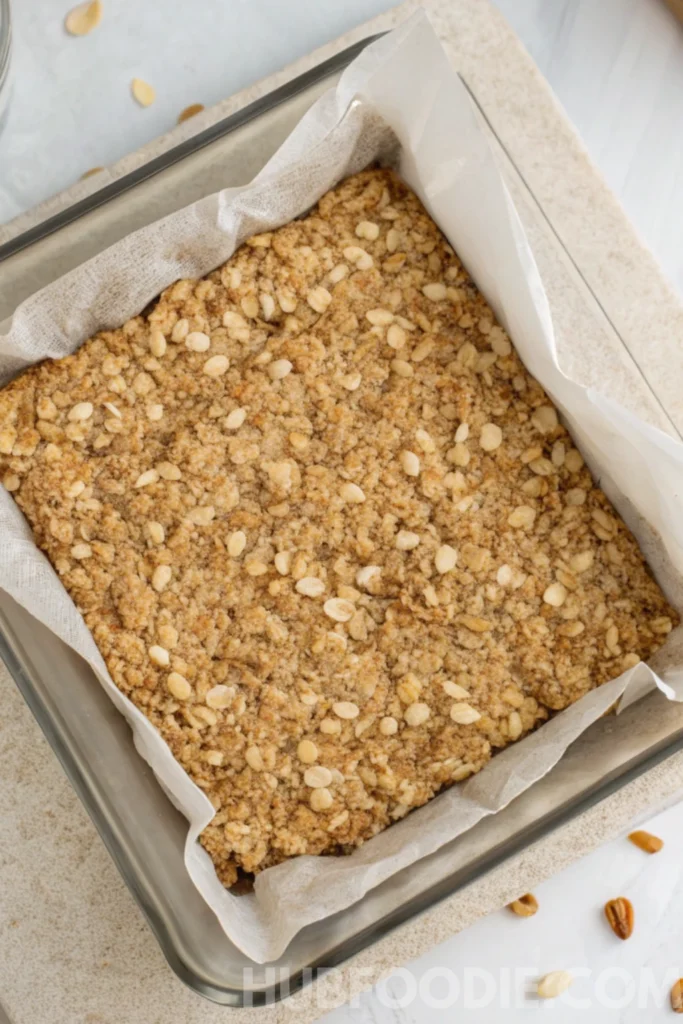
Line a square 8×8 pan with parchment paper. Press the mixture firmly into the pan using the back of a spoon or your hands. Pressing it well is what helps these gluten free granola bars homemade hold their shape.
Step 5 – Choose your finish
- No-bake option: Pop the pan in the fridge for 2–3 hours or until set.
- Baked version: Bake at 325°F (160°C) for about 15–18 minutes. Let cool fully before slicing.
Step 6 – Slice & store
Lift the chilled or baked slab out of the pan. Cut into bars or squares. Store in a sealed container for up to 4 days on the counter or a full week in the fridge.
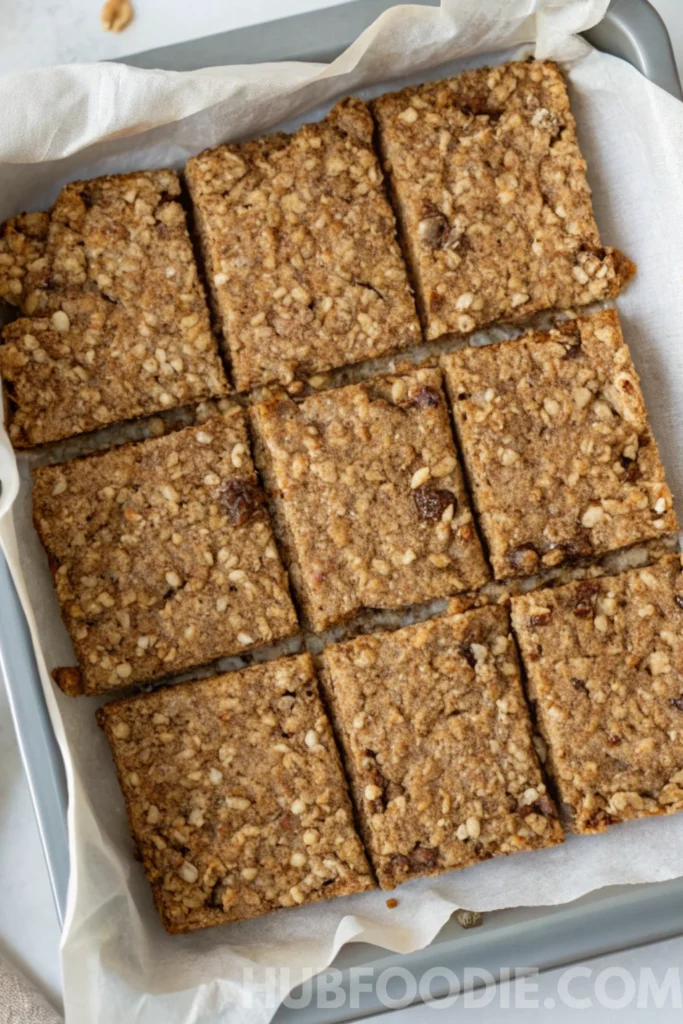
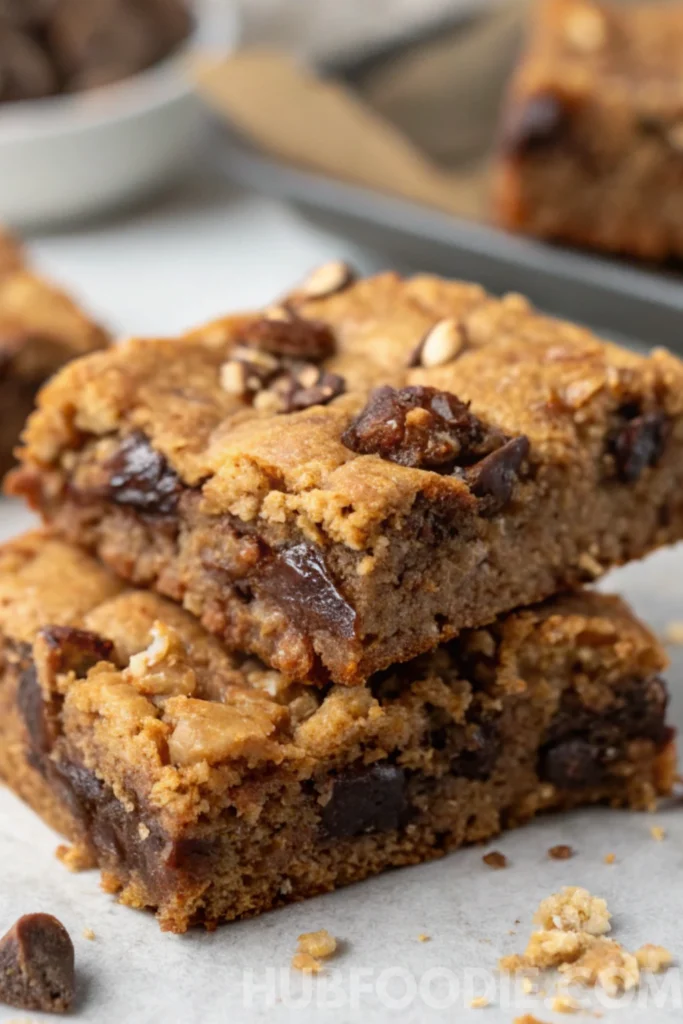
This homemade gluten free granola bars recipe is super forgiving. Change the nut butter, sweetener, or mix-ins to make it your own. Once you try it, you’ll never go back to boxed bars again.
Looking for more snack inspiration? Don’t miss our Watermelon Fries with Coconut Lime Dip. It’s a refreshing summer treat with a twist.
Tips to Keep Homemade Bars from Crumbling
Even with the right ingredients and binders, there are a few small mistakes that can cause your homemade gluten free granola bars to fall apart. Here’s how to avoid that and get perfect, clean-cut bars every time.
1. Don’t Under-Mix the Ingredients
Make sure every oat, nut, and seed is coated in your sticky mixture. Dry spots can cause weak points that crumble once sliced. Take your time to stir well, no shortcuts here.
2. Press It Down Hard
One of the most common reasons gluten free granola bars homemade fall apart is a loose pack. Use your hands, a metal spoon, or a flat-bottomed glass to really compress the mixture into the pan. The more compact it is, the better the bars will hold together.
3. Respect the Cooling Time
Whether you’re baking or chilling, let the bars cool or set completely before cutting. If they’re even slightly warm or soft, they’ll likely fall apart. For no-bake versions, a full 2–3 hours in the fridge is best. For baked bars, allow them to cool in the pan at room temperature for at least 1 hour.
4. Use a Sharp Knife
Once set, slice your bars with a large, sharp knife in a straight-down motion. Avoid sawing back and forth, which can break up the edges.
5. Store Them Properly
Once cut, store your bars in a sealed container. If they’re exposed to air for too long, they’ll dry out and become more fragile. For longer shelf life and texture, keep them in the fridge.
Following these simple steps will help you avoid the most common issues and get a perfect texture every time. And remember, every batch you make gives you a better sense of how to make homemade gluten free granola bars that suit your taste and texture preferences.
Customizing Your Homemade Granola Bars
One of the best parts about homemade gluten free granola bars is how flexible they are. Whether you have allergies or just want variety, it’s easy to adjust the recipe to your needs.
Nut-Free Swaps
Avoiding nuts? Try:
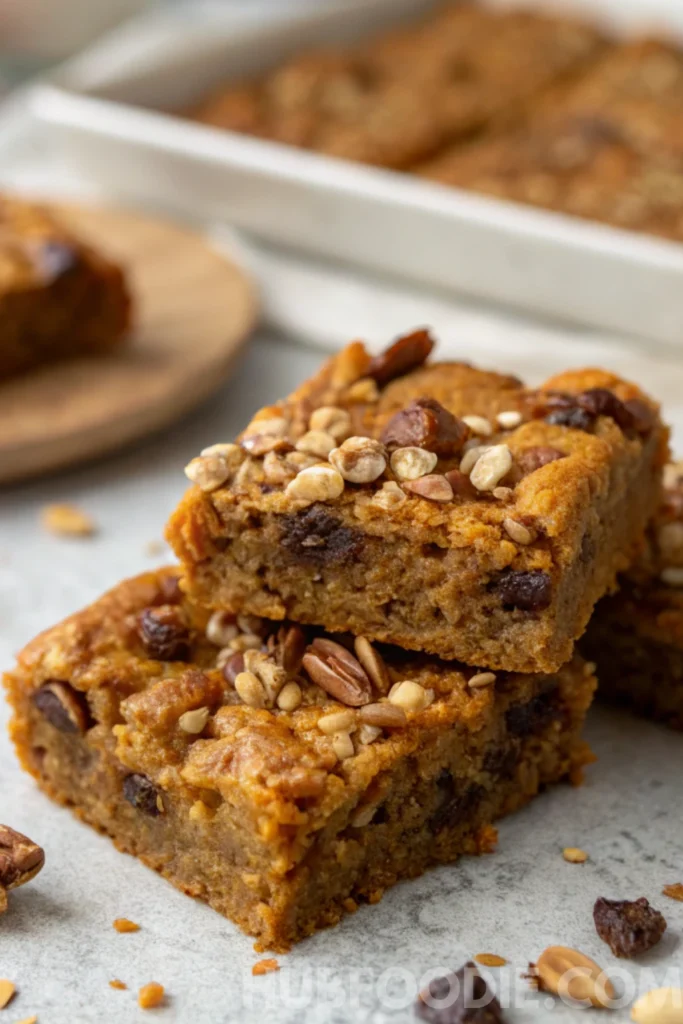
- Sunflower seed butter
- Pumpkin or sunflower seeds
- Coconut flakes or puffed rice for crunch
Low-Sugar Tips
Want less sugar?
- Use mashed bananas or unsweetened applesauce
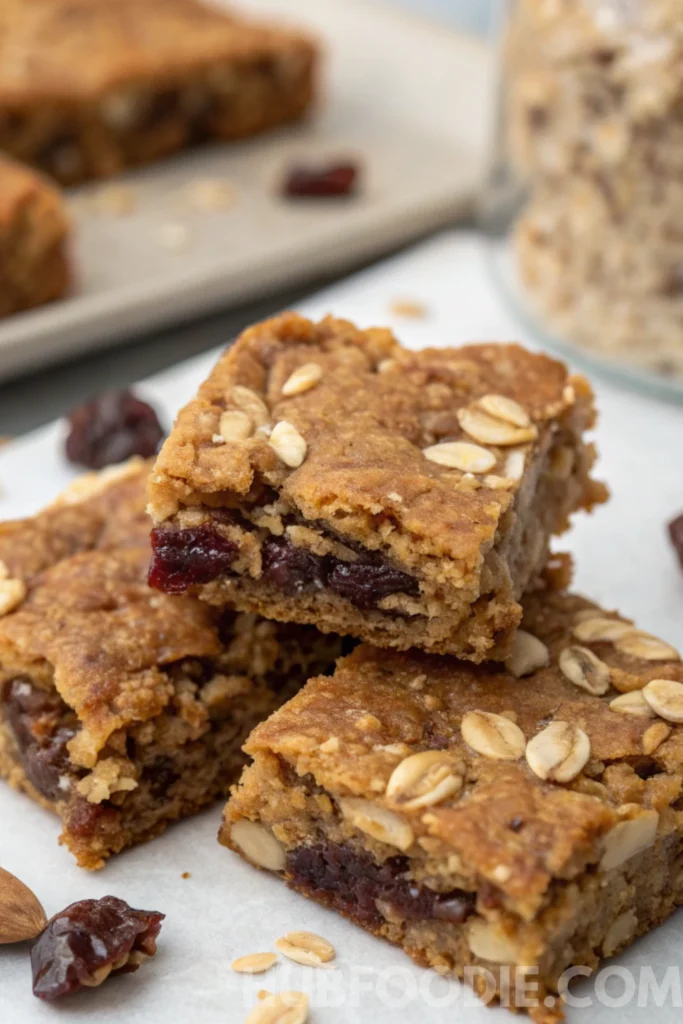
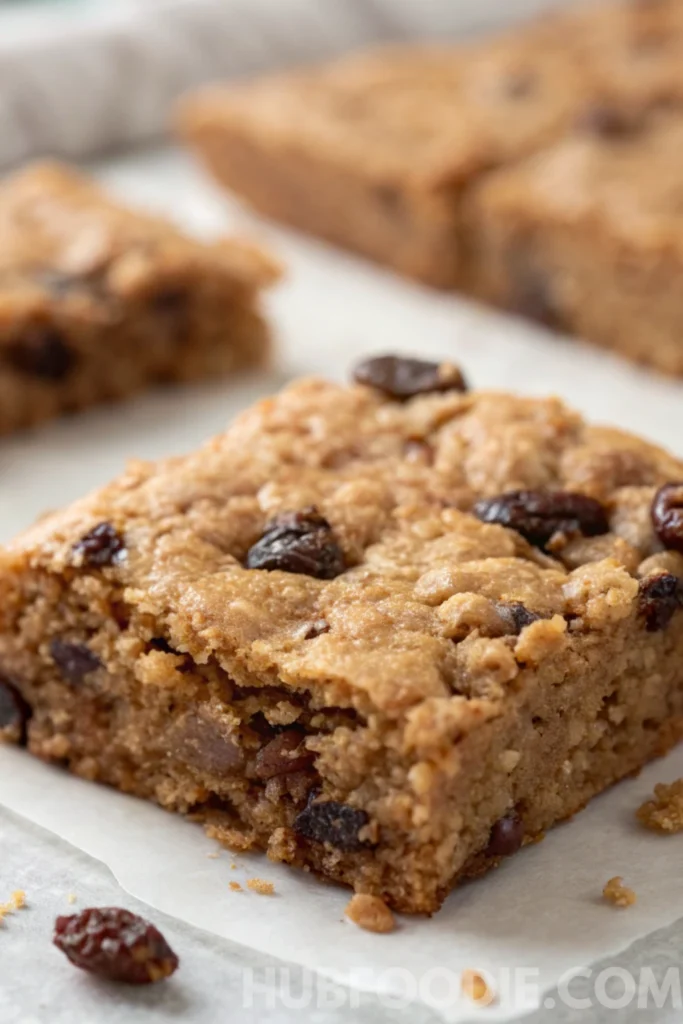
- Add chopped dates or raisins for natural sweetness
- Choose dark chocolate or skip it altogether
Kid-Friendly Ideas
Keep it simple and fun:
- Add mini chocolate chips
- Cut bars into small or fun shapes
- Use familiar flavors like cinnamon-raisin
Boost the Protein
For more fuel:
- Add chia or hemp seeds
- Stir in a little protein powder
- Use nut or seed butter with added protein
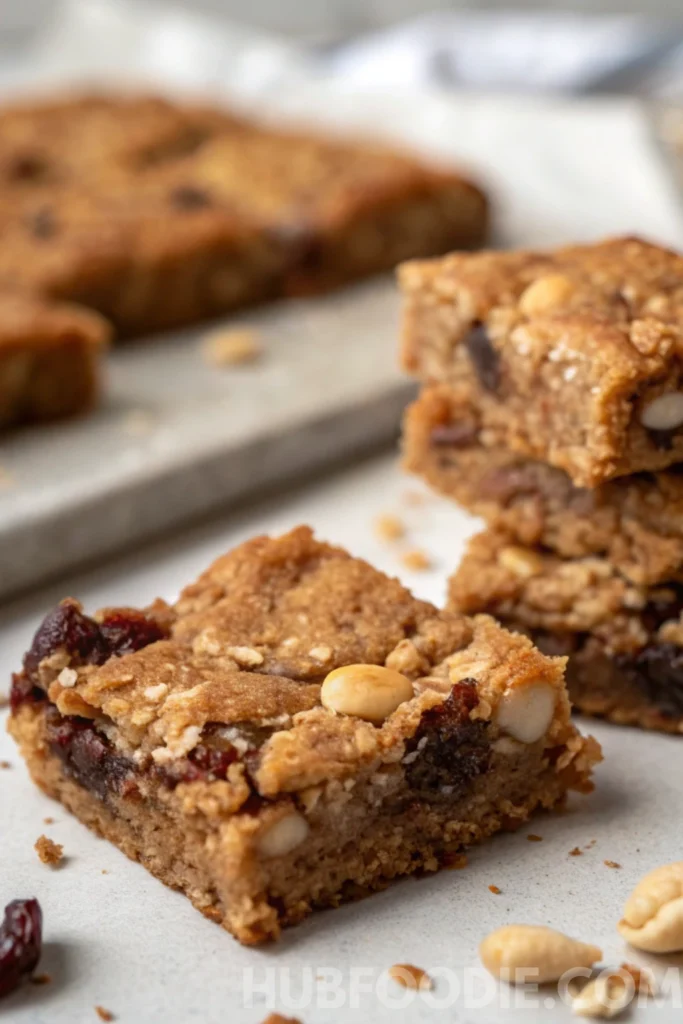
Once you know how to make homemade gluten free granola bars, it’s easy to adjust for taste, diet, or what’s in your pantry.
Common Questions About Gluten Free Granola Bars
How do I get my homemade granola bars to stick together?
Use sticky binders like nut butter and honey. Press the mix firmly and let it chill fully before slicing.
Are there any granola bars that are gluten-free?
Yes, but making gluten free granola bars homemade is often healthier and more affordable.
How to make a gluten-free granola?
Use gluten-free oats, nuts or seeds, and natural sweeteners. Avoid anything processed with wheat.
Are Made Good granola bars gluten-free?
Yes, they’re certified gluten-free. Still, homemade gives you more control and customization.
How to make granola bars at home?
Mix oats, a binder, and add-ins. Press into a pan, chill or bake, and cut into bars.
Are oats gluten-free?
Oats are naturally gluten-free, but only safe if labeled certified gluten-free due to cross-contact risks.
Should you soak oats before making granola bars?
No. Use dry oats for better texture in both baked and no-bake bars.
Final Thoughts and Storage Suggestions
Making your own homemade gluten free granola bars is one of the simplest ways to take control of your snacks. With just a few clean ingredients and a little prep time, you get bars that are fresher, cheaper, and more customizable than anything off the shelf.
How Long Do They Last?
- Room Temperature: 3 to 4 days in an airtight container
- Refrigerated: Up to 1 week
- Frozen: Wrap individually and freeze for up to 2 months
To keep them chewy and fresh, always store your bars in a sealed container. If stacking, place parchment paper between layers to prevent sticking.
When to Make a New Batch?
If your house is anything like mine, these bars disappear quickly, especially when kids are involved. I usually make a double batch on the weekend and freeze half to keep on hand for the week.
Once you know how to make homemade gluten free granola bars, you can easily switch flavors, adjust sweetness, and create a snack that fits your routine perfectly.
Looking for more clean, allergy-friendly snack ideas? Don’t miss our Quick & Easy Raw Vegan Recipes.
Print
The Best Homemade Gluten Free Granola Bars Recipe
- Prep Time: 10 minutes
- Cook Time: 15 minutes (for baked version)
- Total Time: 25 minutes (or 10 minutes + chilling for no-bake version)
- Yield: 10–12 granola bars
- Category: Snacks, Breakfast
- Method: No-Bake or Baked
- Cuisine: American
- Diet: Gluten Free
Description
Chewy, and naturally sweet, these homemade gluten free granola bars are made with simple ingredients like oats, nut butter, and honey. Perfect for snacks, lunchboxes, or a quick breakfast, they’re allergy-friendly, customizable, and meal-prep ready.
Ingredients
- 2 cups certified gluten-free rolled oats
- 1/2 cup nut butter (peanut, almond, or sunflower seed)
- 1/3 cup honey or maple syrup
- 1 tbsp ground flaxseed (optional)
- 1 tsp vanilla extract
- 1/4 tsp sea salt
- 1 cup mix-ins (dried fruit, seeds, nuts, or chocolate chips)
Instructions
- In a small saucepan over low heat, combine nut butter and honey (or maple syrup). Stir until smooth, then remove from heat and add vanilla.
- In a large bowl, combine oats, salt, flaxseed, and mix-ins.
- Pour the warm, wet mixture over the dry ingredients. Stir until everything is evenly coated.
- Line an 8×8-inch pan with parchment paper. Press the mixture firmly into the pan using the back of a spoon or your hands.
- For no-bake bars: Refrigerate for 2–3 hours until firm.
- For baked bars: Bake at 325°F (160°C) for 15–18 minutes. Let cool completely.
- Once set, remove from the pan and slice into bars. Store in an airtight container.
Notes
Use certified gluten-free oats to avoid cross-contamination.
For nut-free bars, swap nut butter with sunflower seed butter and skip nut mix-ins.
Store bars in the fridge for up to 7 days or freeze for up to 2 months.
To keep bars chewy, don’t overbake if using the baked version.
For extra protein, add 1–2 tbsp of chia or hemp seeds.
Nutrition values are estimated and may vary based on specific ingredients or portion sizes used.
Love what you see? Follow me on Facebook and Pinterest for more easy, delicious recipes and daily inspiration!


